Precision Meets Innovation
Components for Industrial Applications and Creative Endeavors Alike. Serving Businesses and Makers Around the World.
Featured products
-
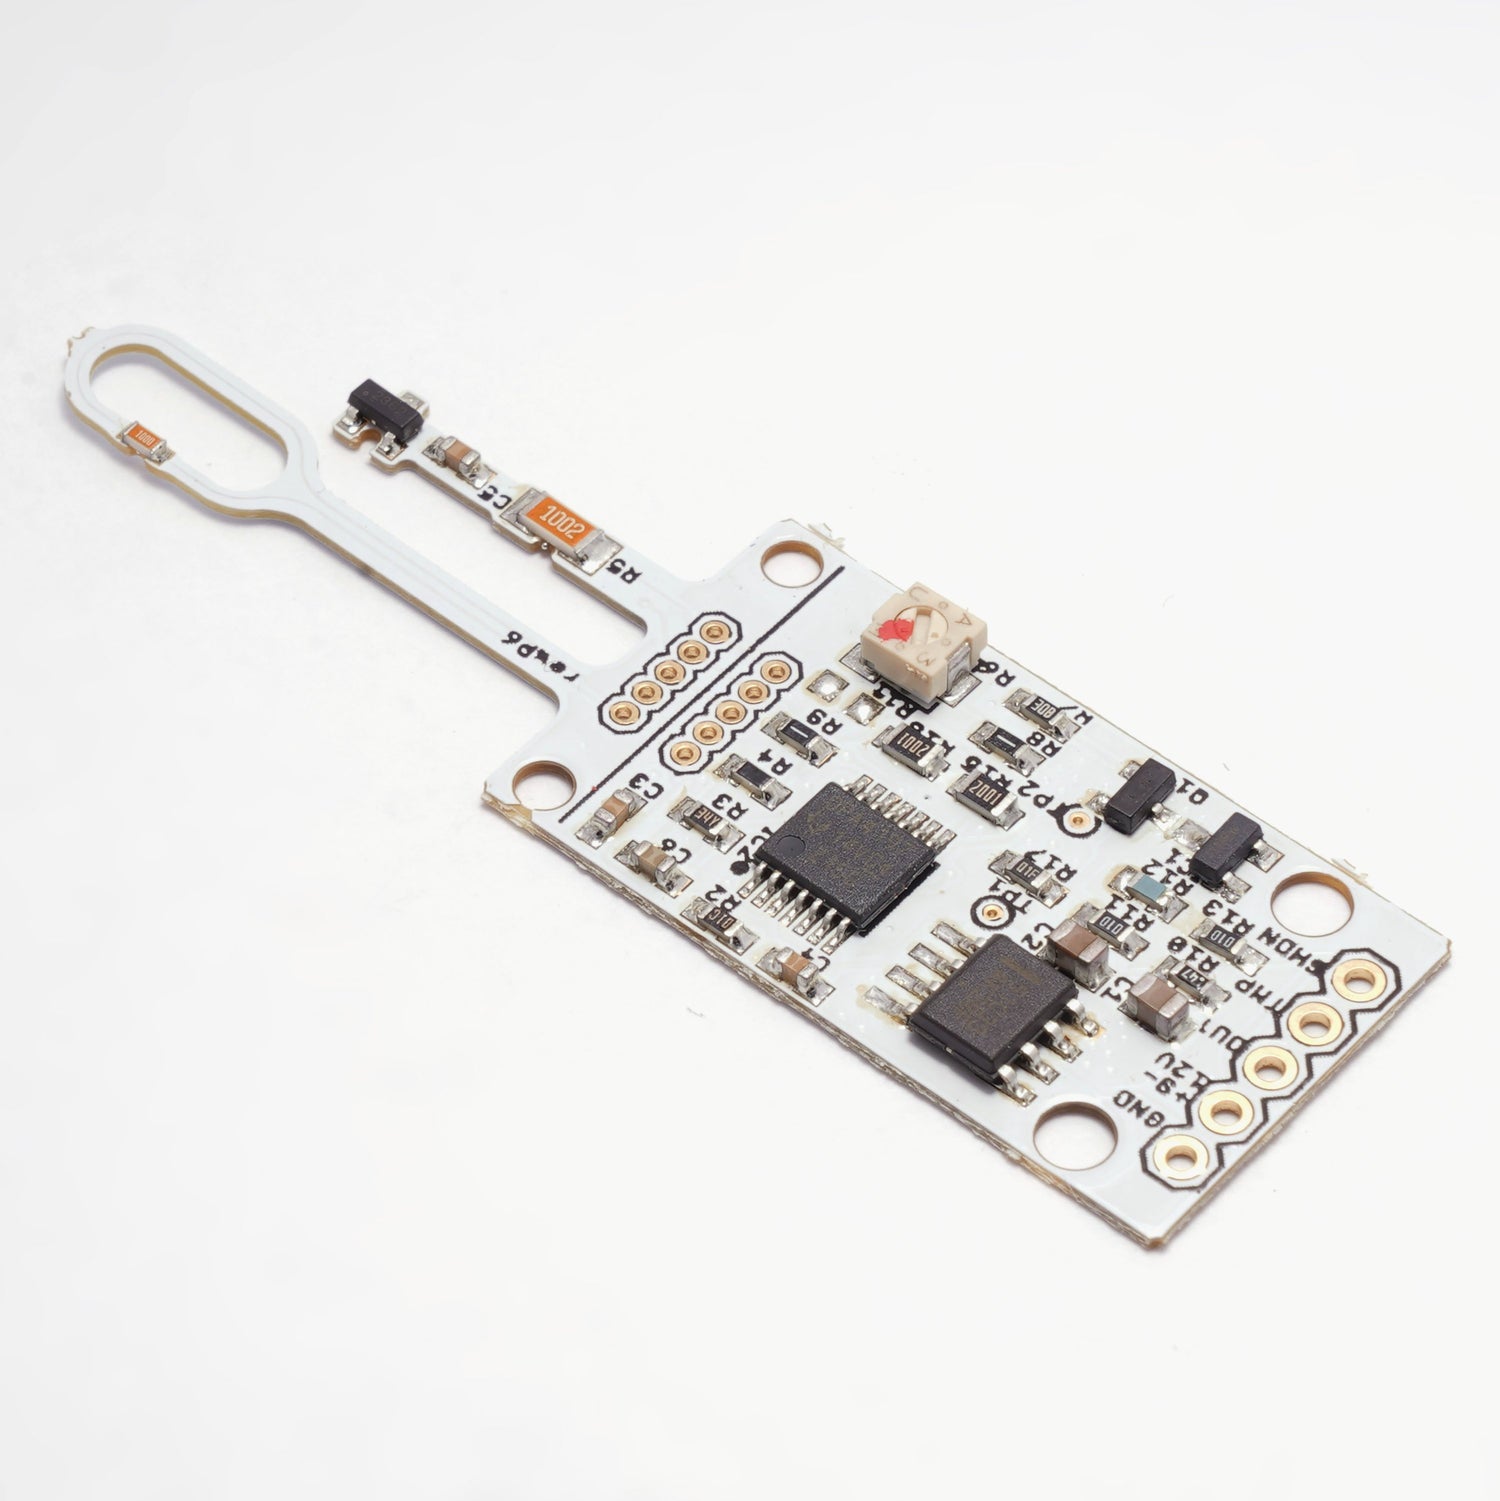
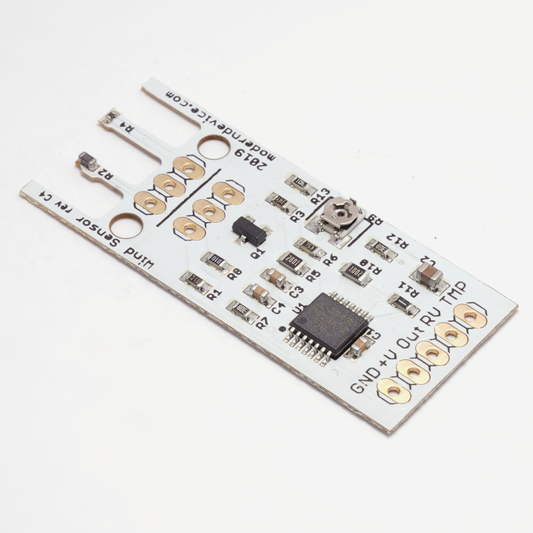
Wind Sensor Rev. C
Regular price $21.95Regular priceUnit price per -
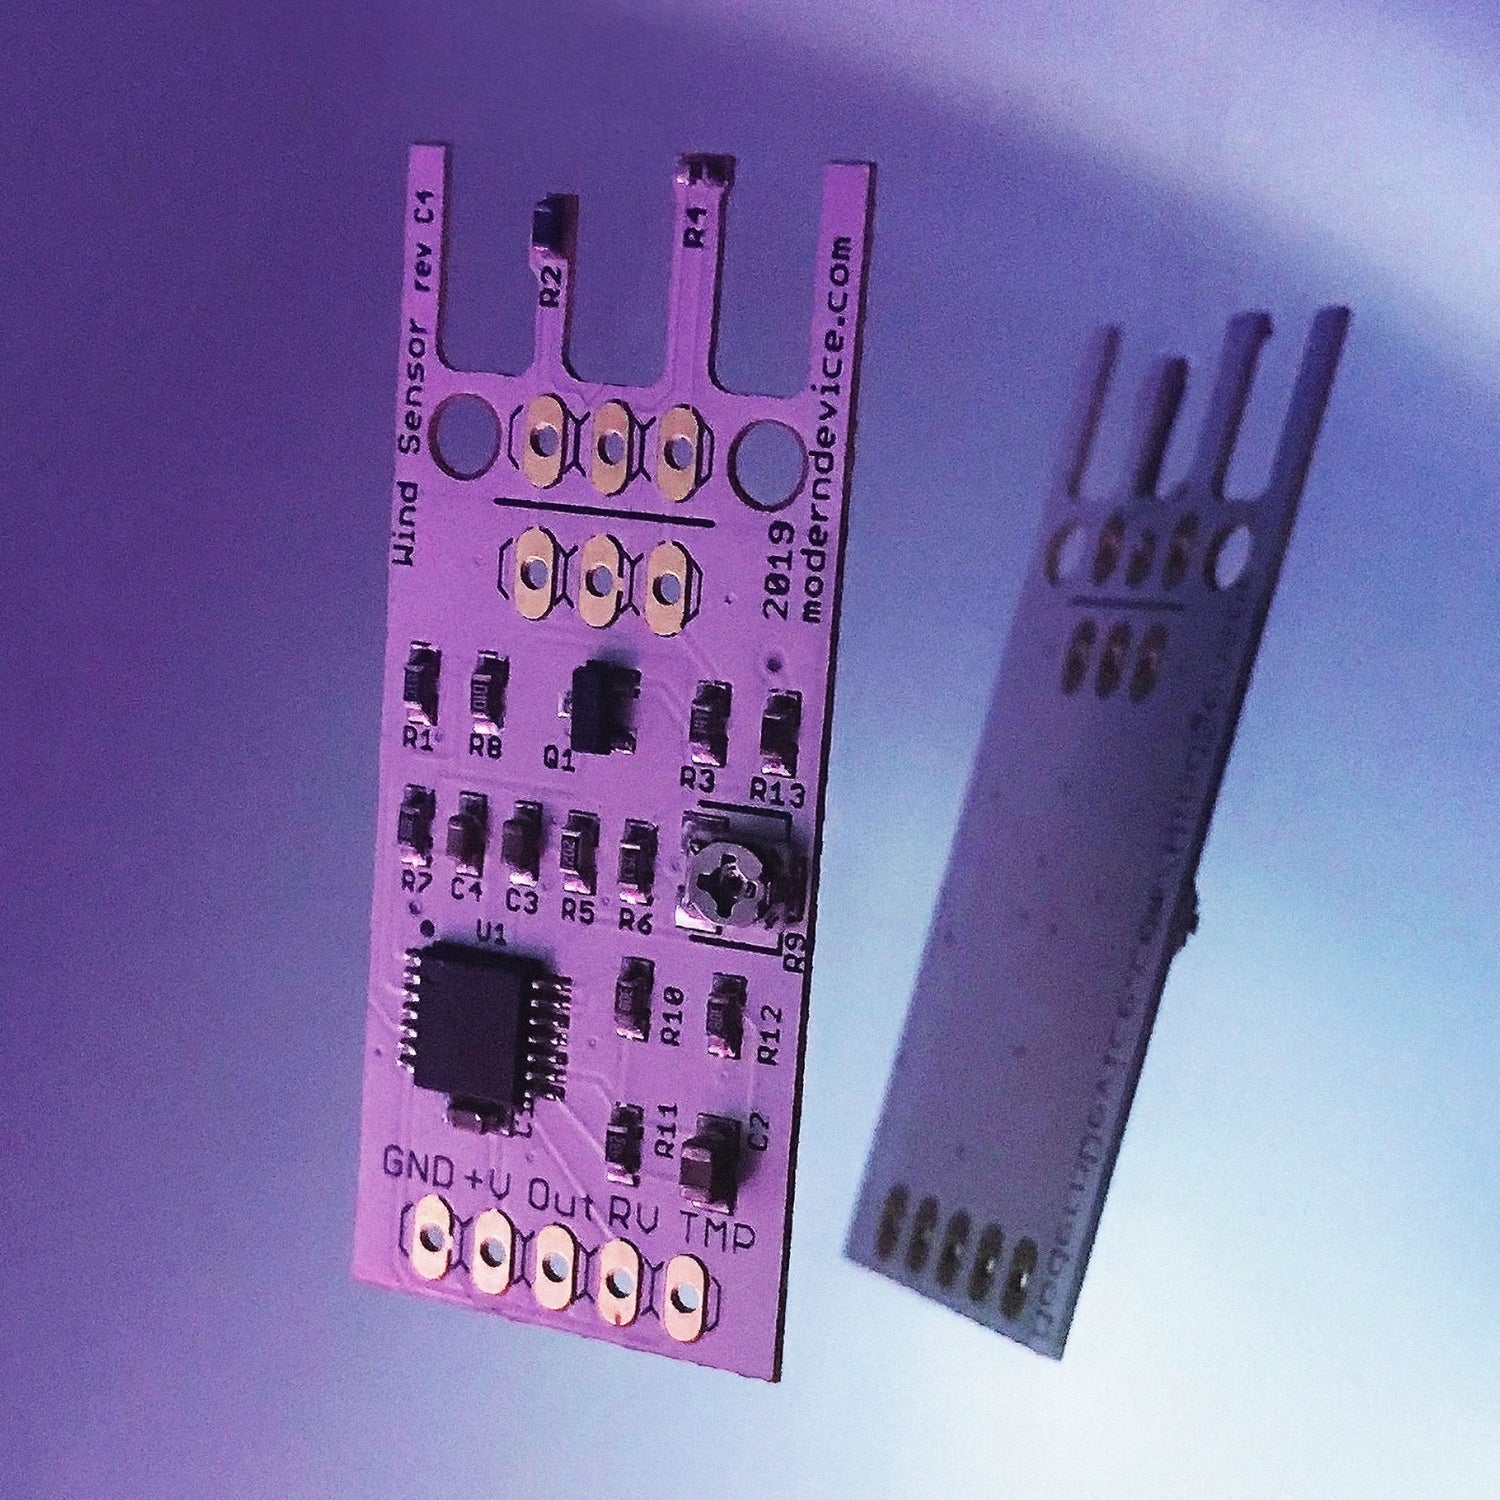
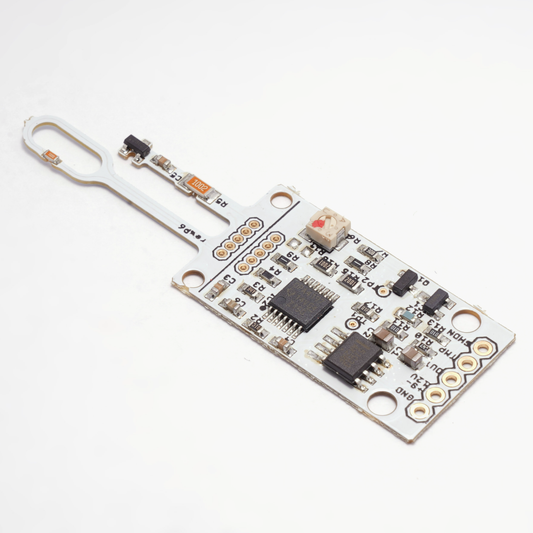
Wind Sensor Rev. P
Regular price $39.95Regular priceUnit price per -
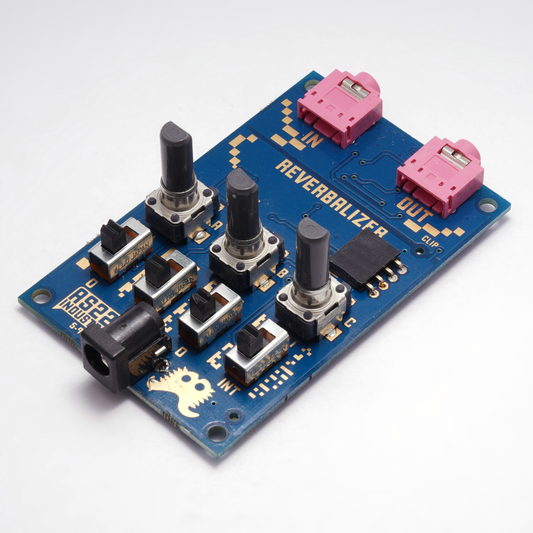
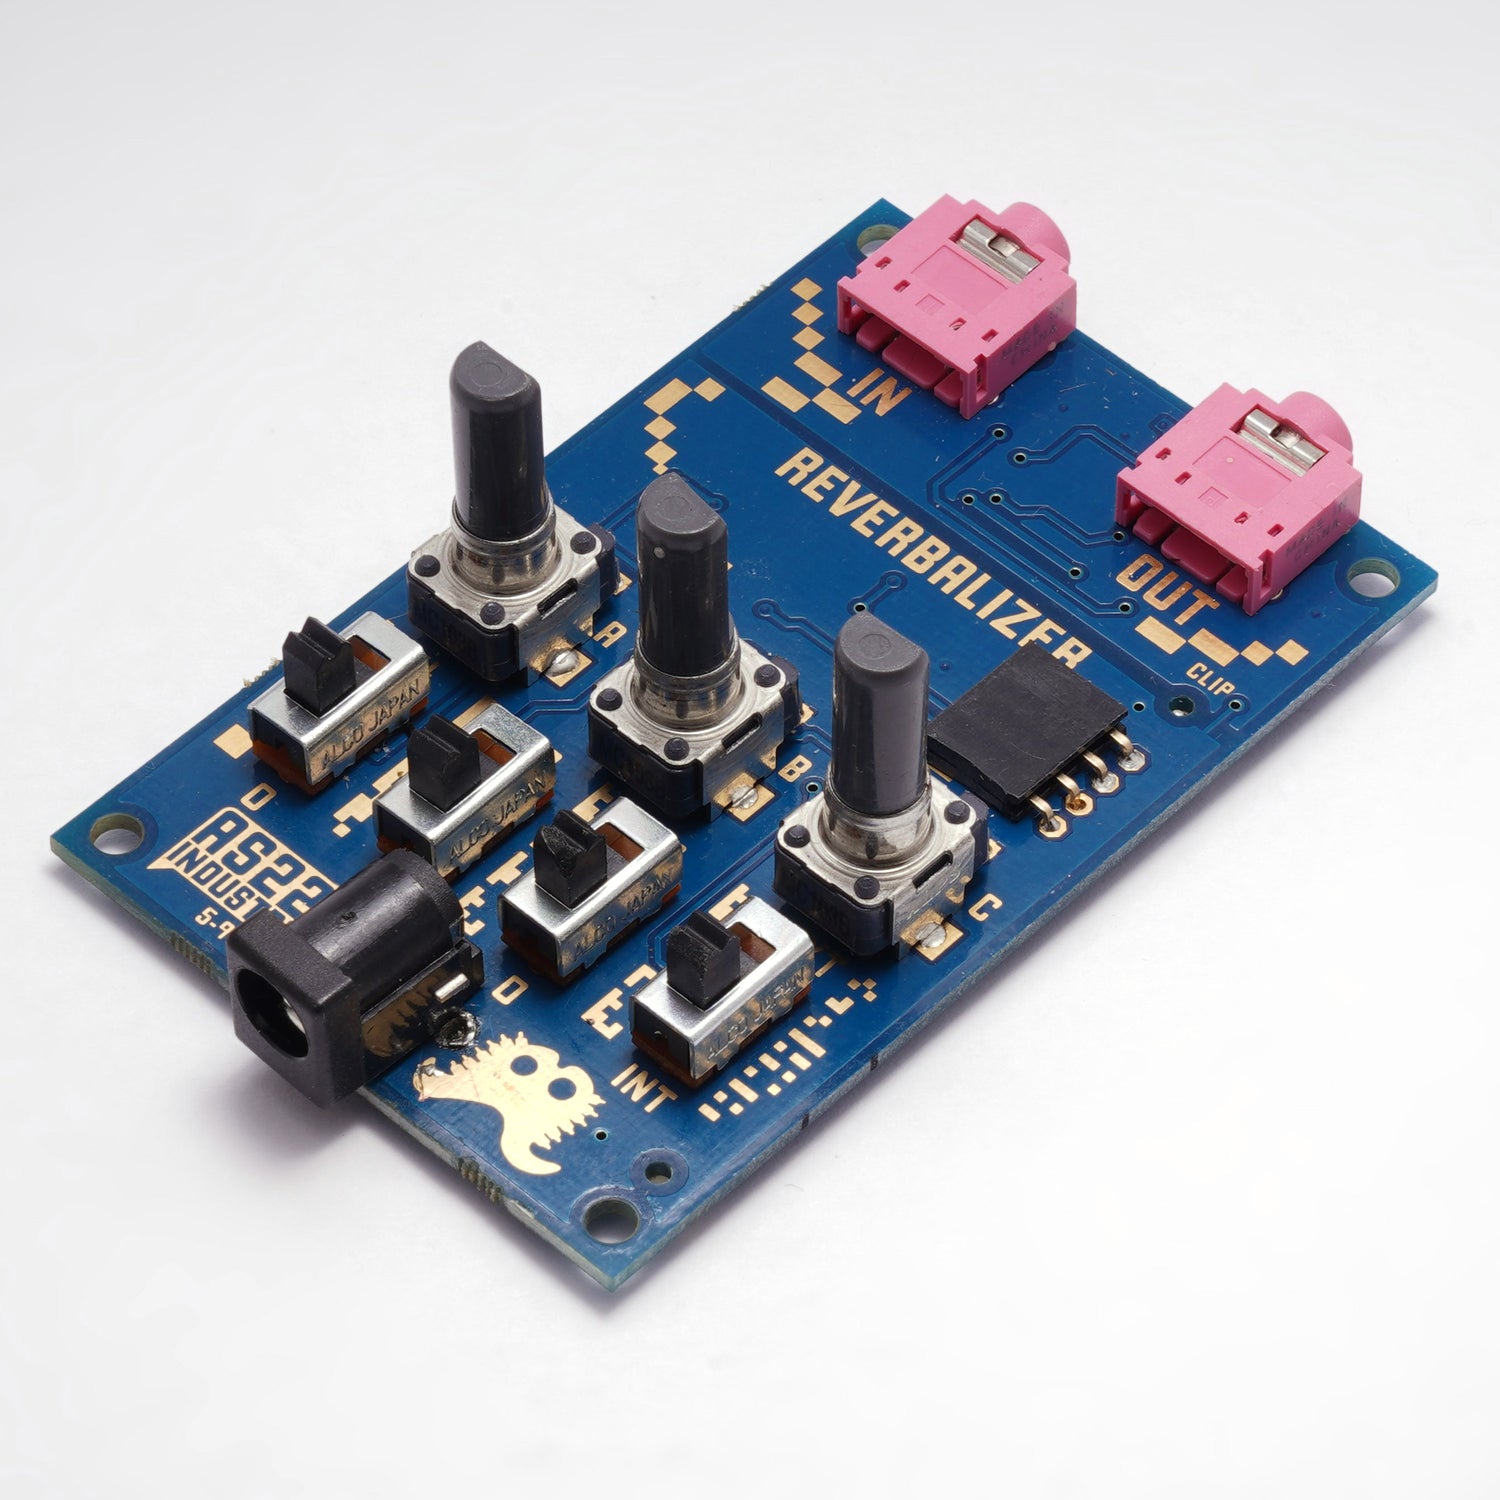
Reverbalizer: Hackable FV-1 Based Multi-effects Module
Regular price $59.95Regular priceUnit price per -
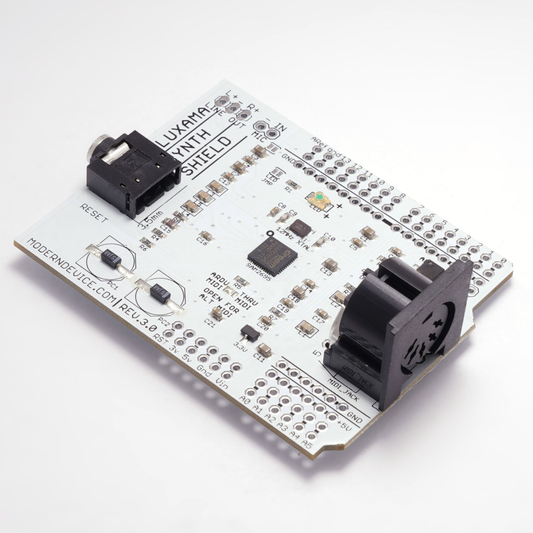 Sold out
Fluxamasynth Shield v.3
Regular price From $31.95Regular priceUnit price per -
 Sold out
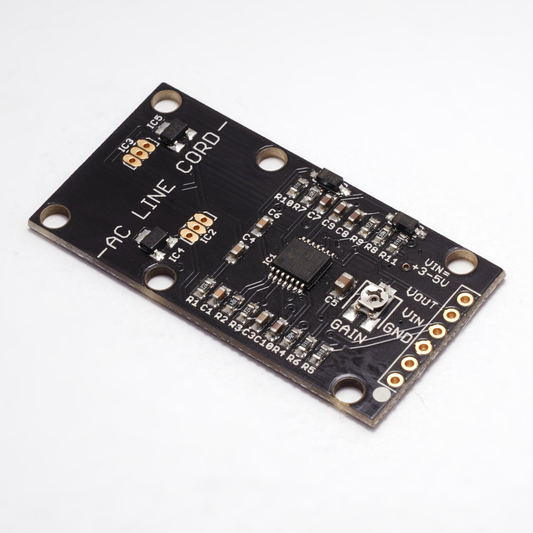
AC Current Sensor
Regular price $19.95Regular priceUnit price per -
 Sold out
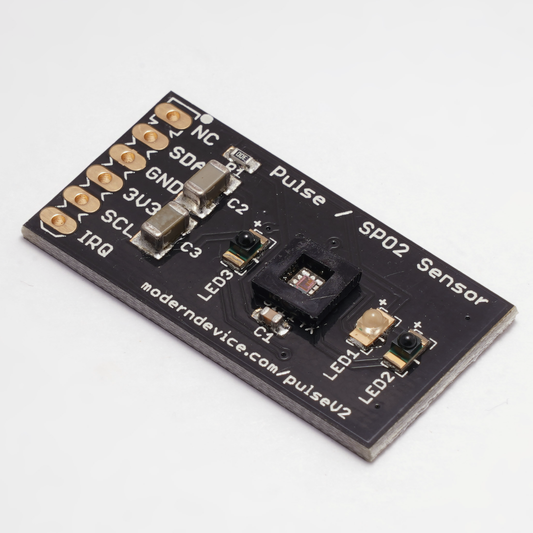
Pulse/Heartbeat Sensor
Regular price $21.95Regular priceUnit price per


Shop Collections
View all-
Synthesizers and Effects
Programmable synthesizers, sound generators, and effects, all in your control.